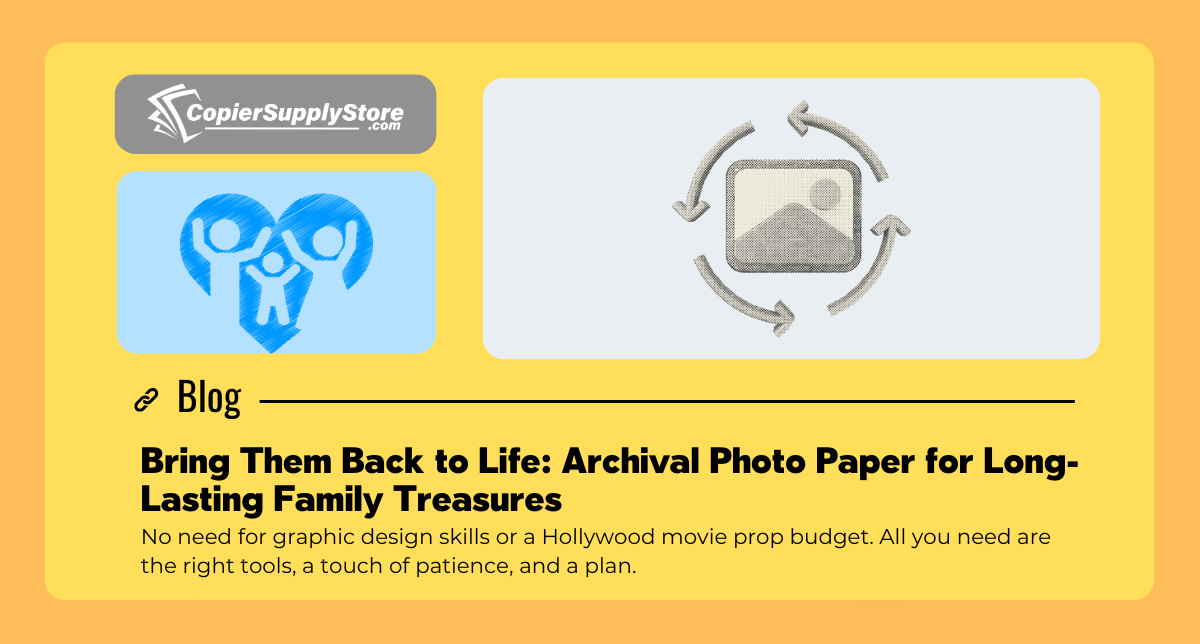
We’ve all got one. That shoebox hidden somewhere, full of faded, curling photographs from the days before cloud storage. It’s a stash of family history, Great-Grandma’s wedding, Dad’s wild 70s hair, maybe a few awkward childhood birthday parties with cakes brighter than the photos are now. You see those timeworn images and think, “I should really do something with these.” But then, life, deadlines, and that one infuriatingly jam-prone printer get in the way.
Here’s the thing: restoring those memories is easier than you think. No need for graphic design skills or a Hollywood movie prop budget. All you need are the right tools, a touch of patience, and a plan. Let’s talk DIY photo restoration the simple way and why the paper you choose makes all the difference.
This isn’t a new headache for your to-do list. It’s a straightforward, cost-effective approach to saving your family’s legacy for the long haul.
Why Regular Office Paper Just Doesn’t Cut It
First, let’s clear something up. Your trusty 20 lb. office paper? Absolutely not for photos. Using it for cherished old photos is like baking with sand instead of flour. It’s just not going to work.
Standard paper is thin and acidic, designed for stuff like memos, not memorable prints. Here’s why:
- Too absorbent: Ink soaks through, making images blurry.
- Not made for color: Colors appear washed out and lifeless.
- Won’t last: Acid in the paper means it will yellow and get brittle all while taking your precious photo with it.
To get prints that last, you need specialty photo paper. Even better, choose archival photo paper. It’s the secret weapon for creating long-lasting photo paper prints that won’t crumble at the first sign of daylight.
Image: The difference is clear. Restored family photos printed on archival paper regain vibrancy and detail.
The Magic of Archival Photo Paper
Archival photo paper is designed to outlast the average family squabble. Museums and pro photographers use it to keep images crisp for decades. The reason? It’s built to survive against three main enemies: light, air, and moisture.
Unlike regular paper, true archival paper is:
- Acid-Free and Lignin-Free: These materials prevent yellowing and decay, protecting your legacy prints.
- Buffered: Many types are treated to fight off environmental pollution and acidity.
- Specially Coated: Archival paper’s coating holds ink at the surface, resisting UV fading and smudging.
Choosing archival paper means you’re not just making a copy, you’re upgrading your photo to heirloom status.
Easy DIY Photo Restoration: Steps That Work
No fancy skills or software required. You just need to digitize, fix, and print.
Step 1: Digitize Those Faded Photos
- Use a scanner: Best results come from a flatbed scanner. Set to at least 600 DPI, or 1200 DPI for tiny photos.
- No scanner? Try a good smartphone photo scanning app. Decent lighting is key.
Step 2: Quick Digital Fixes
- Use built-in editors: Mac or PC software lets you adjust brightness and color with simple sliders.
- One-click fixes: Features like “auto-enhance” often produce surprisingly good results.
- Fix color tints: Adjust color balance until whites actually look white. When you print faded photos, this one change makes a big difference.
Step 3: Print on the Right Paper
You’ve done the hard work. Now for the good part: printing on archival photo paper.
Choosing the Best Paper for Legacy Prints
The paper aisle is a jungle: glossy, matte, luster, satinno wonder people get lost. Here’s what actually matters for your project.
Image: Side-by-side of glossy, matte, and luster photo papers for comparison.
1. Matte: Subtle and Timeless
- No glare: Great for framing behind glass.
- Hides flaws: Non-reflective, so minor imperfections stay hidden.
- Perfect for black & white: Deep blacks look richer on matte.
Use matte for framed portraits or classic family shots you want on your wall.
2. Glossy: Bold and Bright
- Vibrant color: Makes images really pop.
- Sharp detail: Smooth surface enhances clarity.
But, beware: glossy attracts fingerprints and glares like nobody’s business. Use it for photo album prints or those you want to handle, not for the wall.
3. Luster/Satin: The Versatile MVP
- Balanced: Delivers rich color and detail, but reduces glare.
- Tough: More resistant to smudges and fingerprints.
- Professional feel: Most pros use this for a reason.
If you’re indecisive, luster archival paper is a solid bet for almost any DIY photo restoration need.
Ink Matters Too
Paper is half the battle, but make sure your inkjet printer uses pigment-based inks instead of dye-based ones.
- Dye-based: Bright colors, but fades and can run if wet.
- Pigment-based: More resistant to fading and moisture.
Check your printer’s specs. Genuine pigment cartridges may cost a bit more, but pay off in longevity.
What You’ll Need: Restoration Shopping List
Ready to save those photos? Here’s your cheat sheet:
- Scanner or photo scanning app
- Photo editing software (built-in is fine)
- Quality inkjet printer with pigment-based inks
- Archival photo paper:
-
- Go matte for frames
- Glossy for unframed, colorful prints
- Luster or satin for pro results
Restoring your family history doesn’t have to be pricey or stressful. With just a little time, the right supplies, and a few well-placed clicks, those old photos can get a brand new lease on life. Of course, using top-notch photo paper is a mustbut don’t forget the role of quality printer parts like toner in giving your prints the sharpness and longevity they deserve. For supplies you can trust (and a supply partner who understands office chaos), check out CopierSupplyStore and make sure your memoriesand your printerare in good hands.